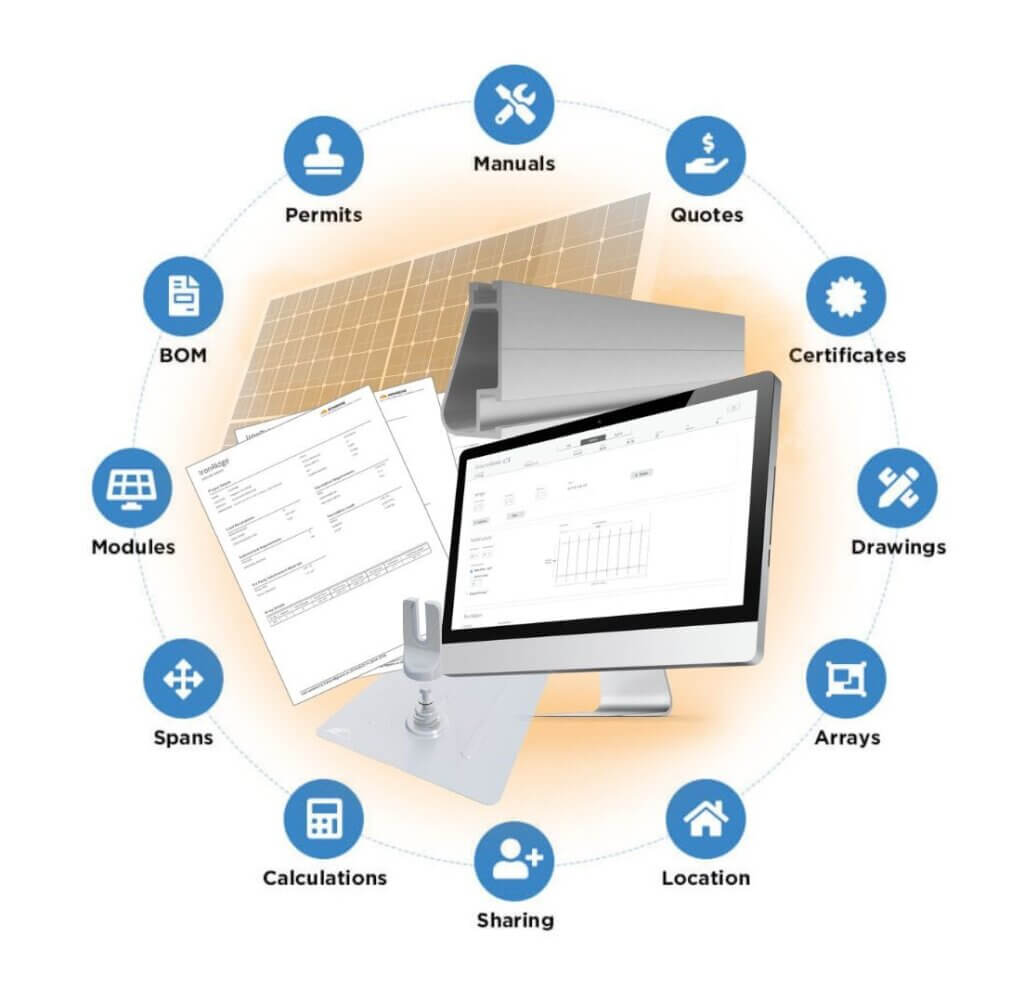
What is UL 2703A?
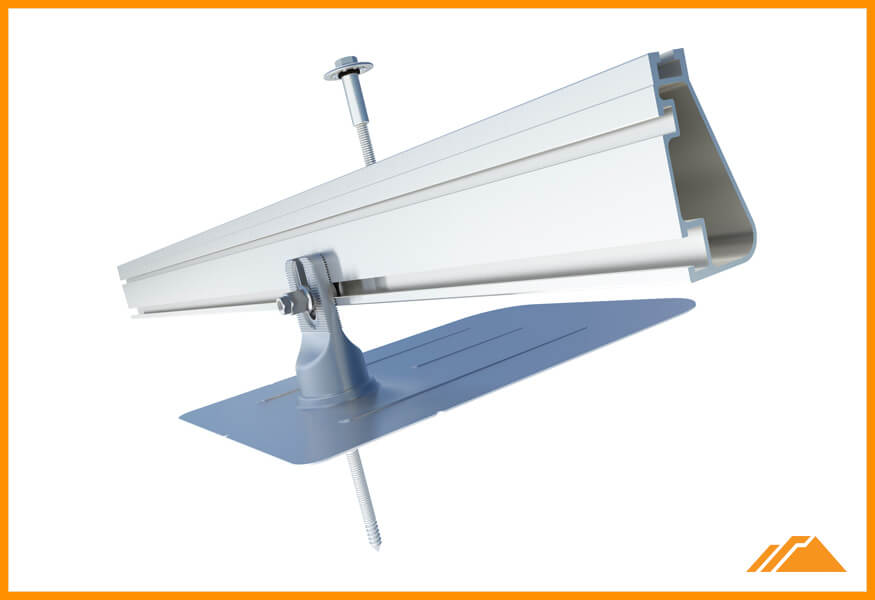
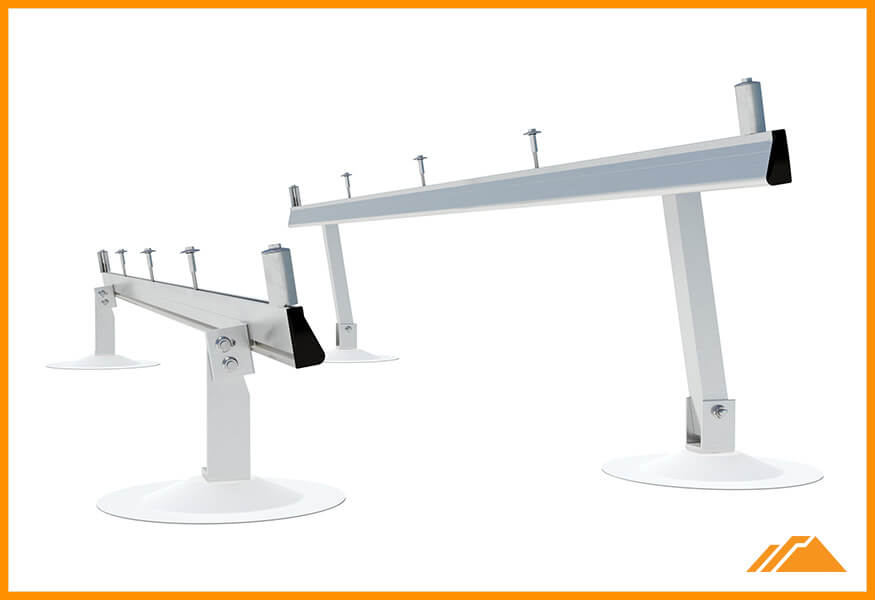
The QuickMount HUG™ and BUG™ attachments—that use our UltraGrip seal technology—are listed to UL 2703A, a new standard by UL for Flashing Devices and Systems for Rooftop-Mounted Photovoltaics. The BUG™ Conduit Mount is also listed to UL 2239 for supporting conduit.
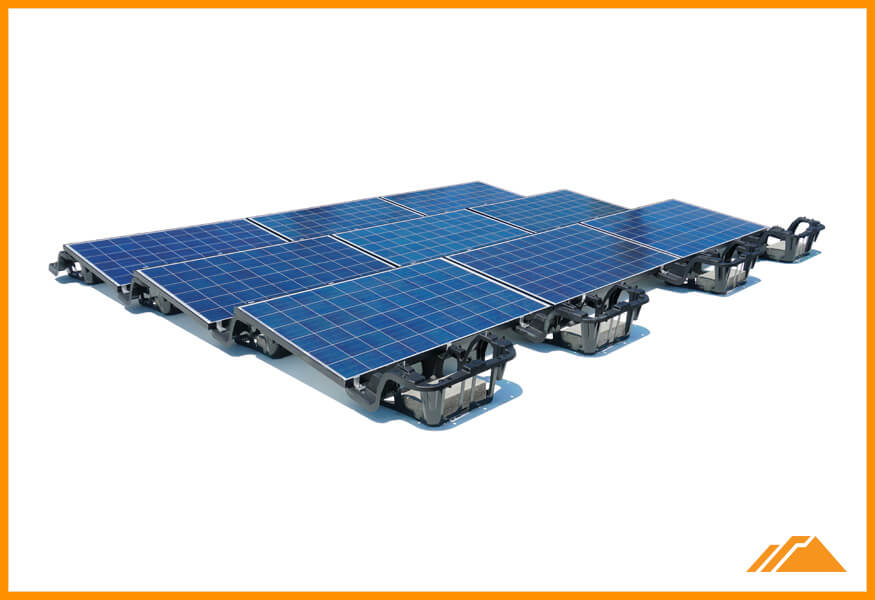
The requirements of UL 2703A cover flashing materials, devices, and systems intended to provide resistance to water penetration to the interior of the building, in situations where photovoltaic rack mounting systems penetrate roof covering systems. These products are intended to be installed in accordance with either the International Building Code (IBC) or the International Residential Code (IRC), and the installation instructions.
These requirements do not address the ability of flashing materials, devices, and systems to withstand the structural wind forces of tornados, cyclones, or hurricanes. These requirements also do not cover: performance during exposure to fire, structural attachments for the rack mounting system, structural performance of roof attachments for above roof mounting of photovoltaic (PV) modules and panels, and the mechanical and structural requirements of the IBC or IRC.